
How to set up Ubuntu Linux Desktop as a virtual machine in UTM for Apple Silicon Macs
Don't download Ubuntu Linux Server as instructed in other sources!

For those who use the UTM app to run virtual machines (VM) on Apple Silicon Macs, this article will explain the simplest way to set it up to run Ubuntu Linux Desktop.
Wrong way
The instructions you find via a Google search tell you to download Ubuntu Linux Server for ARM here and then use the package manager (apt) to install Ubuntu Desktop via the command line.
This is the wrong way to do that.
In my case, the package manager (apt) froze during the Ubuntu Desktop install.
Easier way
The easiest way is to download the ARM version of Ubuntu Linux Desktop and install it from there. Download the latest ARM version of the Ubuntu Linux Desktop boot ISO here.
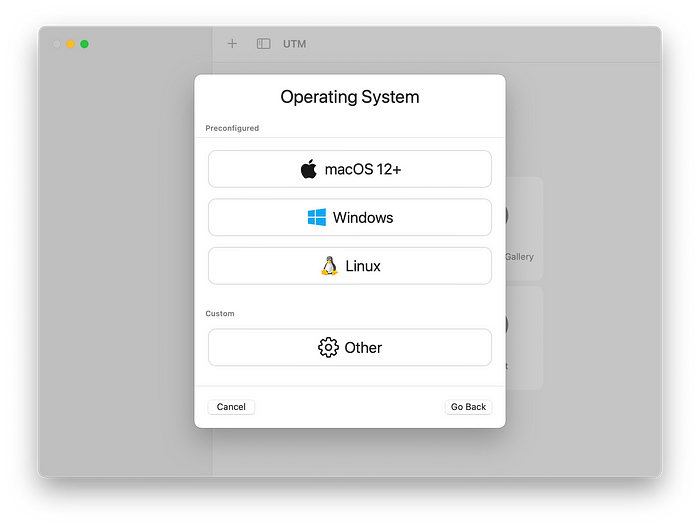
Then you create a new VM in UTM:

Select “Virtualize”:

Select “Linux”:
Mount the ISO that you had just downloaded:

Start the VM.
The graphical installation process for Ubuntu Linux Desktop is very intuitive.
Set up folder share with the host macOS machine
The next problem to resolve is to set up the shared folder (directory) to pass information between the host macOS machine and the Ubuntu Linux Desktop VM.
In VM’s UTM settings, select a folder in macOS to share and set the Directory Share Mode of the shared folder to “VirtFS”.
In Ubuntu Linux, create a folder (directory) to be shared with the macOS host machine.
Add the following line in the /etc/fstab file (don’t forget to use sudo to edit that file):
share [mount point] 9p trans=virtio,version=9p2000.L,rw,_netdev,nofail 0 0 [mount point] is the full path to the shared folder that you created in the second step.
Reboot
Run this command in Terminal:
sudo chown -R $USER [mount point][mount point] is the full path to the shared folder that you created in the second step.
That’s all to it!